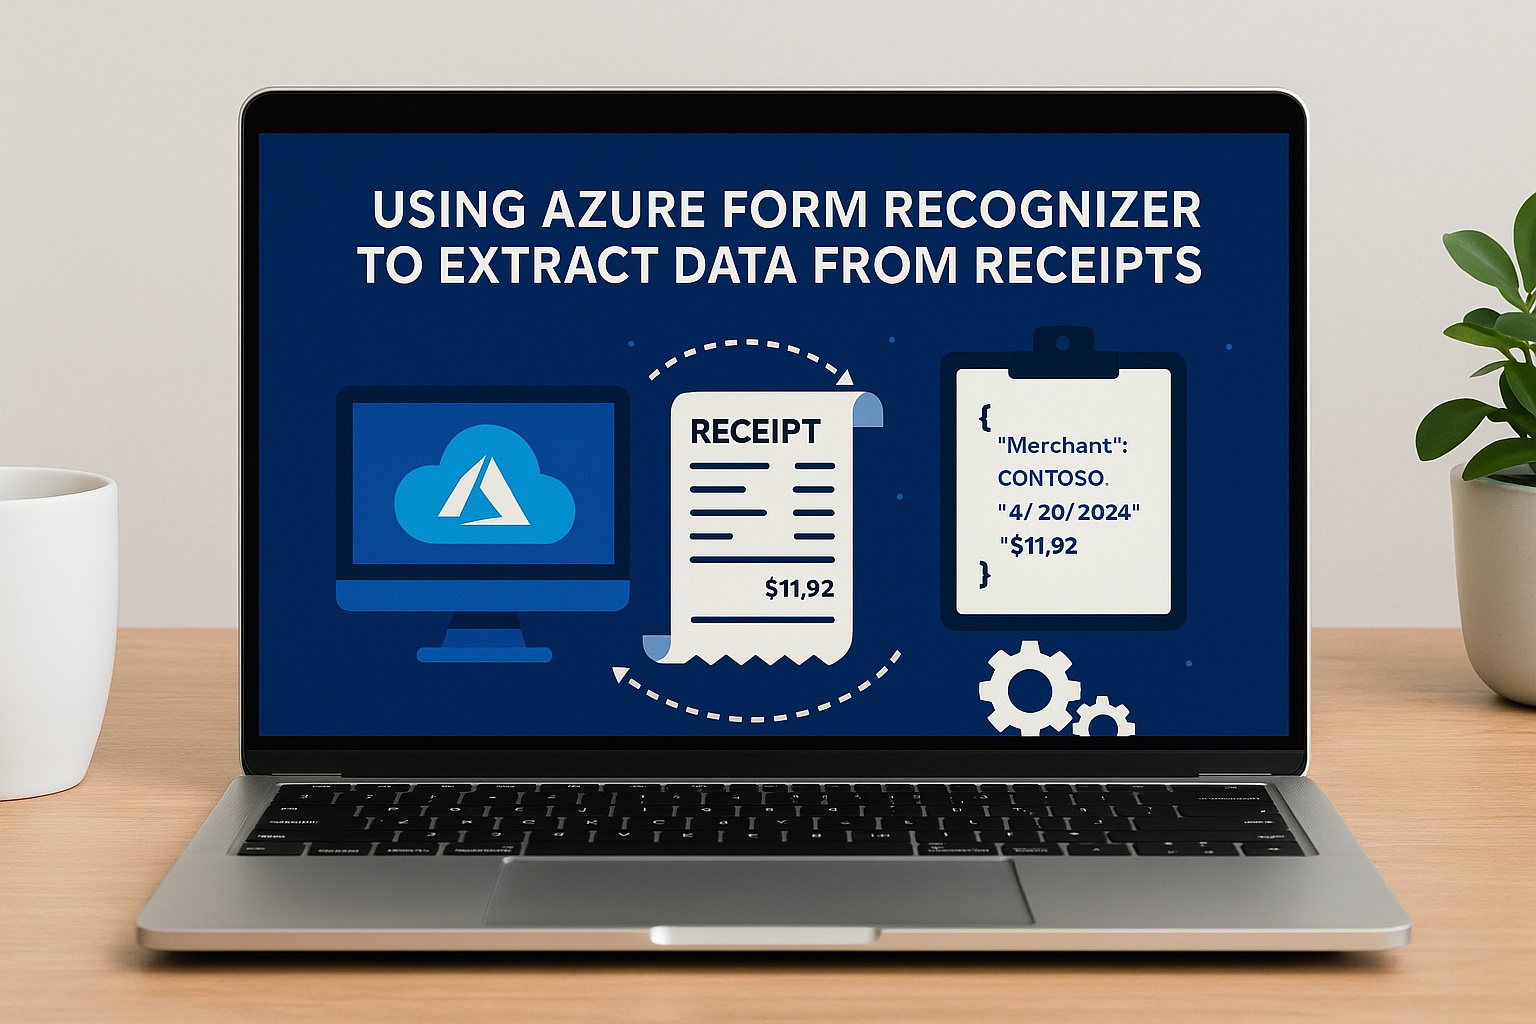
Using Azure Form Recognizer to Extract Data from Receipts
Managing receipts manually takes a lot of effort and is prone to mistakes. Finance teams often spend hours typing totals, dates, and vendor names into spreadsheets, which delays audits and reporting.
Azure Form Recognizer helps automate this process by using AI to identify important fields and convert them into structured data. Instead of just recognizing text, it understands receipts and delivers output in JSON format, ready to integrate into your system.
Create Azure Resource Group
There are several ways to provision Azure resources. You could use the Azure CLI with scripts, apply Infrastructure as Code with Terraform, or go through the Azure Portal. For this guide, the portal is the simplest option.
The first step is to create a resource group in your Azure subscription. For this example, the group is named AI-Test.

Create Form Recognizer Resource
Now go to the Azure Marketplace and search for Form Recognizer.

Click on Create and enter the required details:
- Region: choose a location near you, such as East US.
- Service name: give the Form Recognizer instance a unique name.

- Pricing tier: for a demo, you can select the free tier, but for production scenarios, the Standard tier is recommended.
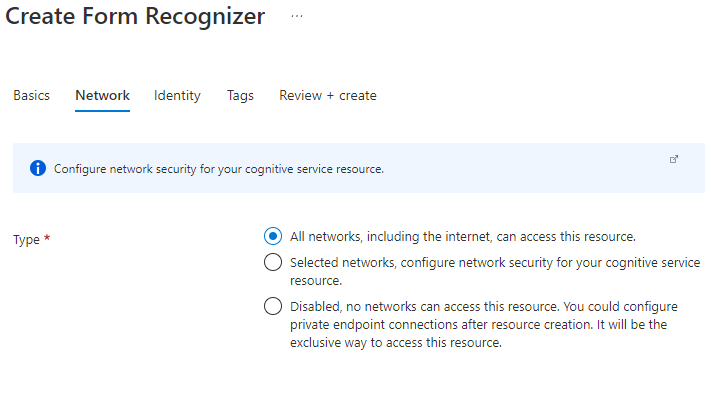
Next, move to the Networking tab. For testing, you can allow access from all networks, but in production, the service should be placed in a secure network. Another option is to use a private endpoint for exclusive access.
On the Identity tab, keep status set to “off” for a demo. In a real project, you may enable managed identity if the service needs to access another Azure service, such as a storage account containing order images.

After creating the service, it will appear inside your resource group.

Use Form Recognizer Studio
Once the service is ready, you can experiment using Form Recognizer Studio, a web-based interface to test the capabilities. The Studio allows you to try different models, preview extracted data, and even get code snippets showing how to call the API in your own applications.
Open Form Recognizer Studio.

On the homepage, you will see three main options: Document Analysis, Prebuilt Models, and Custom Models. Prebuilt models work well for common documents such as receipts, while custom models are for unique use cases. For this tutorial, the prebuilt receipts model is enough.
Click on Receipts. If you are not logged in already, the Studio will ask you to sign in with your Azure account.

A configuration pop-up will then appear, where you must select your subscription, resource group, and the Form Recognizer service resource.
After that, a pop-up window will appear to configure the service resource:
- Choose your Azure subscription
- Choose the resource group that contains the form recognizer service resource
- Click the “Continue” button

Analyze a Receipt with the Prebuilt Model
After setup, you will land on your project page. Here, you can upload one of your own receipts or pick from the sample receipts provided. Then click Analyze.

The analysis result will appear on the right-hand side. You can check the extracted fields such as merchant name, transaction date, subtotal, tax, and total. You can also view the structured JSON result and review code samples in Python, JavaScript, or C#.
Final Thoughts
With these steps, you have created an Azure resource group, provisioned the Form Recognizer service, and tested it using Form Recognizer Studio. You uploaded a receipt, extracted structured data, and saw how the JSON results and code snippets can be used in your own applications.
This approach turns receipt handling from a manual task into a fully automated workflow that is faster, more accurate, and scalable for real business use.
![]()