How to Enable Offline Mode in Power Apps: A Complete Step-by-Step Tutorial
Connectivity isn’t always guaranteed. Whether you’re traveling, working in remote areas, or facing unstable internet, productivity shouldn’t stop. That’s where offline mode in Power Apps model-driven apps becomes essential. It lets users continue creating, editing, and accessing records without an internet connection. Once you’re back online, everything syncs seamlessly.
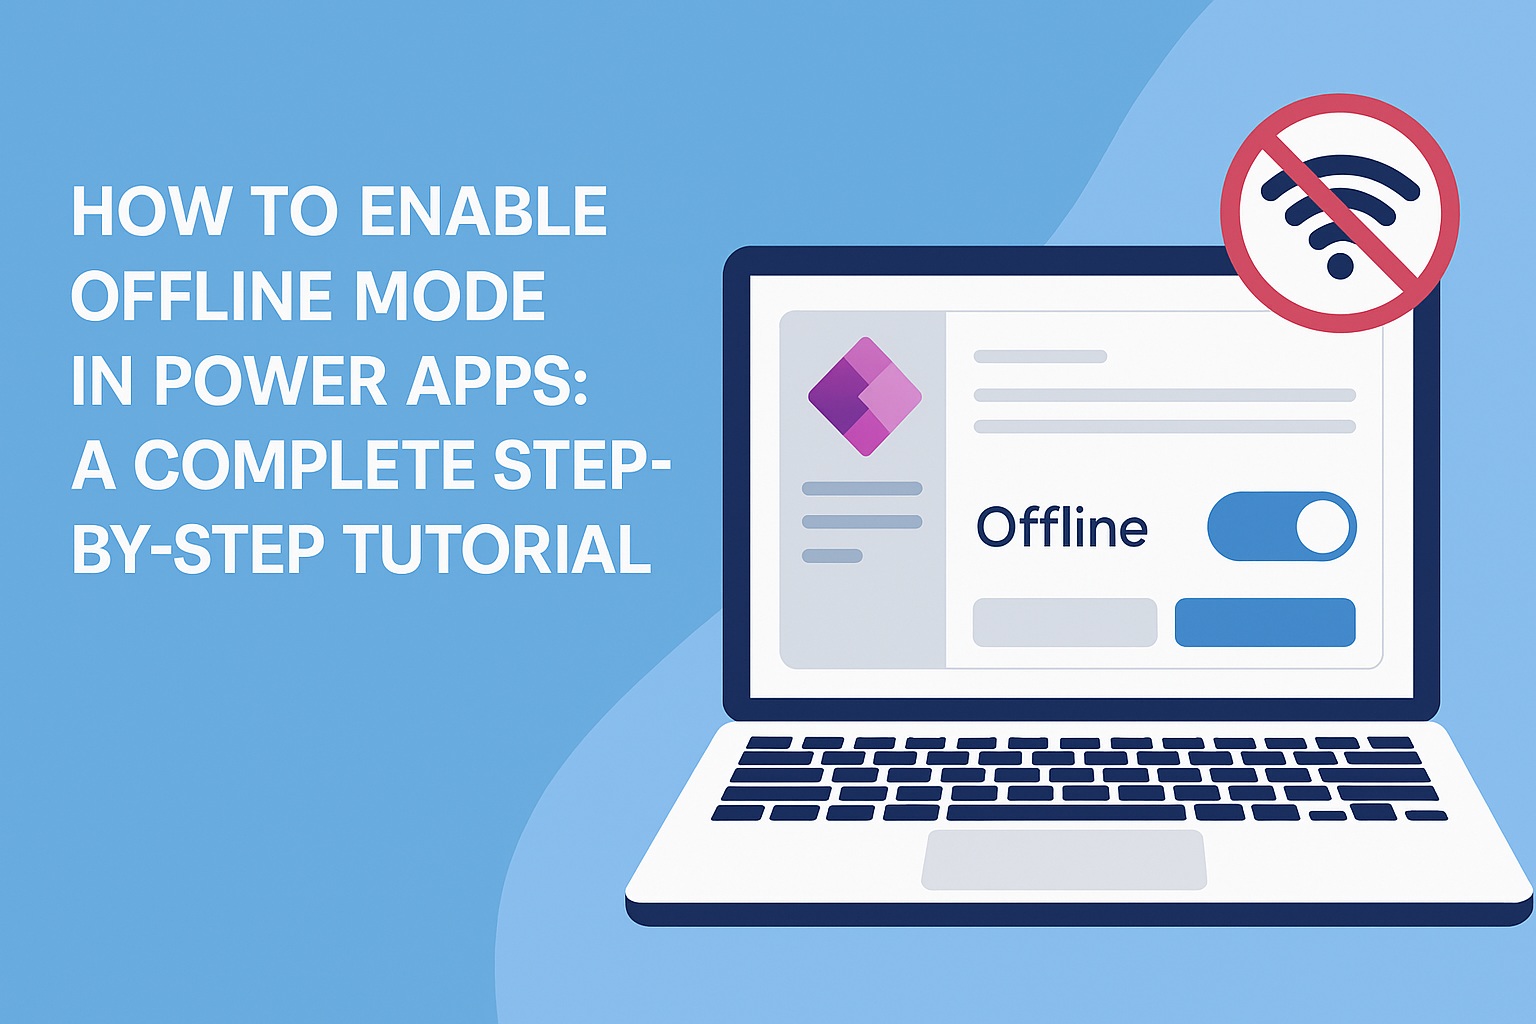
In this complete tutorial, we’ll cover the basics of offline mode, why it matters, and how to set it up step by step. Each step includes a screenshot placeholder so you can follow along with your own visuals.
What is Offline Mode in Power Apps?
Offline mode allows Power Apps users to continue working on data locally when disconnected from the internet. Records are stored on the device, and once reconnected, changes are synced back to the Dataverse server.
It’s especially powerful for model-driven apps, which rely heavily on real-time data. By enabling offline, you ensure that business-critical apps remain usable under any condition.
Why Use Offline Mode?
There are several advantages to enabling offline mode:
- Uninterrupted workflows: No need to wait for internet access to continue tasks.
- Faster response time: Data stored locally loads quicker than server queries.
- Field readiness: Perfect for teams in sales, field service, or healthcare.
- Data protection: All records are safely synchronized back once online.
⚠️ Note: Not all features are supported offline (e.g., certain plug-ins or business process flows). Planning scope is important.
Prerequisites and Setup Requirements
Before configuring offline mode, check the following:
- User roles: Only admins or customizers can configure offline profiles.
- Licensing: Available in Dynamics 365 and certain Power Apps plans.
- Supported devices: iOS, Android, and the Windows desktop client.
- Environment readiness: Dataverse tables and security roles should already be set.
Step-by-Step Guide to Enabling Offline Mode
Follow these steps to configure offline mode in your model-driven app:
Turn on Offline Mode for Your App
To begin, you need to enable offline support at the app level. Open your model-driven app in the designer, go to Settings → General, and switch on the Offline mode button (in version 9.1). In older versions, you’ll find this in the app designer under Properties → Enable Mobile Offline. Each app can only have one offline profile assigned.

In earlier versions, you could enable offline mode directly from the model-driven app designer.

Give Users Access
Next, assign offline access to users. Go to Advanced Settings → Security → Security Roles, select the role, and in the Core Records section, give privileges for the Mobile Offline profile. A single privilege here grants full offline rights.

If you don’t want to assign the privilege role-wide, you can instead add specific users directly. In the Admin Center → Environments → Settings → User + permissions → Mobile configuration, either use an out-of-the-box profile or create your own, then add users to it.

Enable Tables for Offline
Every table you want available offline must be flagged. Open the table, go to Properties → Advanced options, and check “Can be taken offline.” If this isn’t enabled, the table’s records will never sync to devices.

Configure the Offline Profile
Once offline is enabled, add the required data to your offline profile. Include tables, data, and any Business Process Flows (BPFs) you want visible offline. Keep in mind, BPF stages can be seen but cannot be progressed while offline.

You can control what data is downloaded using out-of-the-box filters or custom filters. You can also include related rows, but you must select relationships carefully — you can filter up to 10 relationships per table. Remember, this acts as a filter and may pull in more or fewer rows depending on how it’s set.

Use the available out-of-the-box filters to decide what data gets displayed.

Add Support for Images and Files
If your tables use image or file fields, you must explicitly enable them. Add the ImageDescriptor and FileAttachment tables to the offline profile.

For both, choose Related row only and add the needed relationships on both.

If not configured correctly, mobile users will see errors when opening records with images or attachments.

Set Up on Mobile Devices
Download the Power Apps or Dynamics 365 app from the App Store or Google Play and sign in. If your app isn’t in production, change the view in Dynamics 365 to display it.


When you open the app, go to the Connection menu. Here, you can refresh data with the first button and toggle offline mode with the second. This area also gives a quick overview of the datasets available offline.

Use Offline on Laptops
On laptops, you can install either the “Power Apps for laptop” app or the “Dynamics 365 app for laptop.” After installing, sign in as usual and download the data for offline use.


Power Apps for laptops (supports offline) and Dynamics 365 app for laptops (does not support offline). Install Power Apps for a laptop, sign in, and download data in the same way as the mobile version. The interface and behavior are nearly identical.

Limitations to Keep in Mind
There isn’t a strict limit on the number of tables, records, or BPFs that can be taken offline. However, the more you include, the heavier the app becomes and the slower it may perform.
You cannot move between BPF stages offline. Business rules and JavaScript work offline, but the more you add, the heavier the app will feel.
Common Mistakes
- If you see empty screens for records, views, or subgrids, it usually means the table wasn’t added to the offline profile. Lookups may display, but records won’t open offline.

- If images or files don’t load, the ImageDescriptor or FileAttachment tables weren’t configured properly. Recheck those settings in your profile.
Troubleshooting and General Issues
- Sync conflicts: If two users update the same record, the most recent sync usually wins.
- Profile not working: Verify that roles are assigned correctly and publishing is complete.
- Images or files missing: Ensure ImageDescriptor and FileAttachment were added to the offline profile.
Best Practices for Offline Mode
To ensure smooth performance:
- Use filters to keep the data scope small.
- Test conflict scenarios before rollout.
- Train users on sync behaviors.
- Regularly monitor logs for errors or failures.
Final Thoughts
Offline mode in Power Apps is more than just a backup option — it’s a productivity tool that ensures your team can work anytime, anywhere. By carefully configuring offline profiles, assigning the right roles, and testing sync, you’ll give users a reliable experience that drives real results.
Take the time to follow each step in this guide, and your organization will be ready to unlock the full power of model-driven apps, even without internet.
FAQs About Power Apps Offline Mode
Q1. How often does offline data sync?
The first sync happens when the app is opened online. After that, sync occurs whenever the user reconnects to the internet.
Q2. Can all entities be used offline?
No. Only tables enabled for mobile offline and included in the offline profile are available offline. Plug-ins and workflows may not function as expected.
Q3. Does offline mode work on laptops too?
Yes, there’s a desktop version of Power Apps that supports offline mode, though features may differ slightly from mobile.
Q4. Can users add images and attachments offline?
Yes, but only if the ImageDescriptor and FileAttachment entities are included in the offline profile.
Q5. What’s the biggest limitation of offline mode?
Large datasets can slow down syncs. It’s best to use filters and only include the most relevant records.
![]()