Build an Auto-Updating Leave Request Tracker with Power Automate, Microsoft Forms, and Excel Online
Managing leave requests can quickly become messy if you rely only on emails, phone calls, or scattered notes. Have you ever lost track of who approved what, or struggled to update a spreadsheet after every new request? These small tasks can pile up, causing delays and unnecessary back-and-forth between employees and managers.
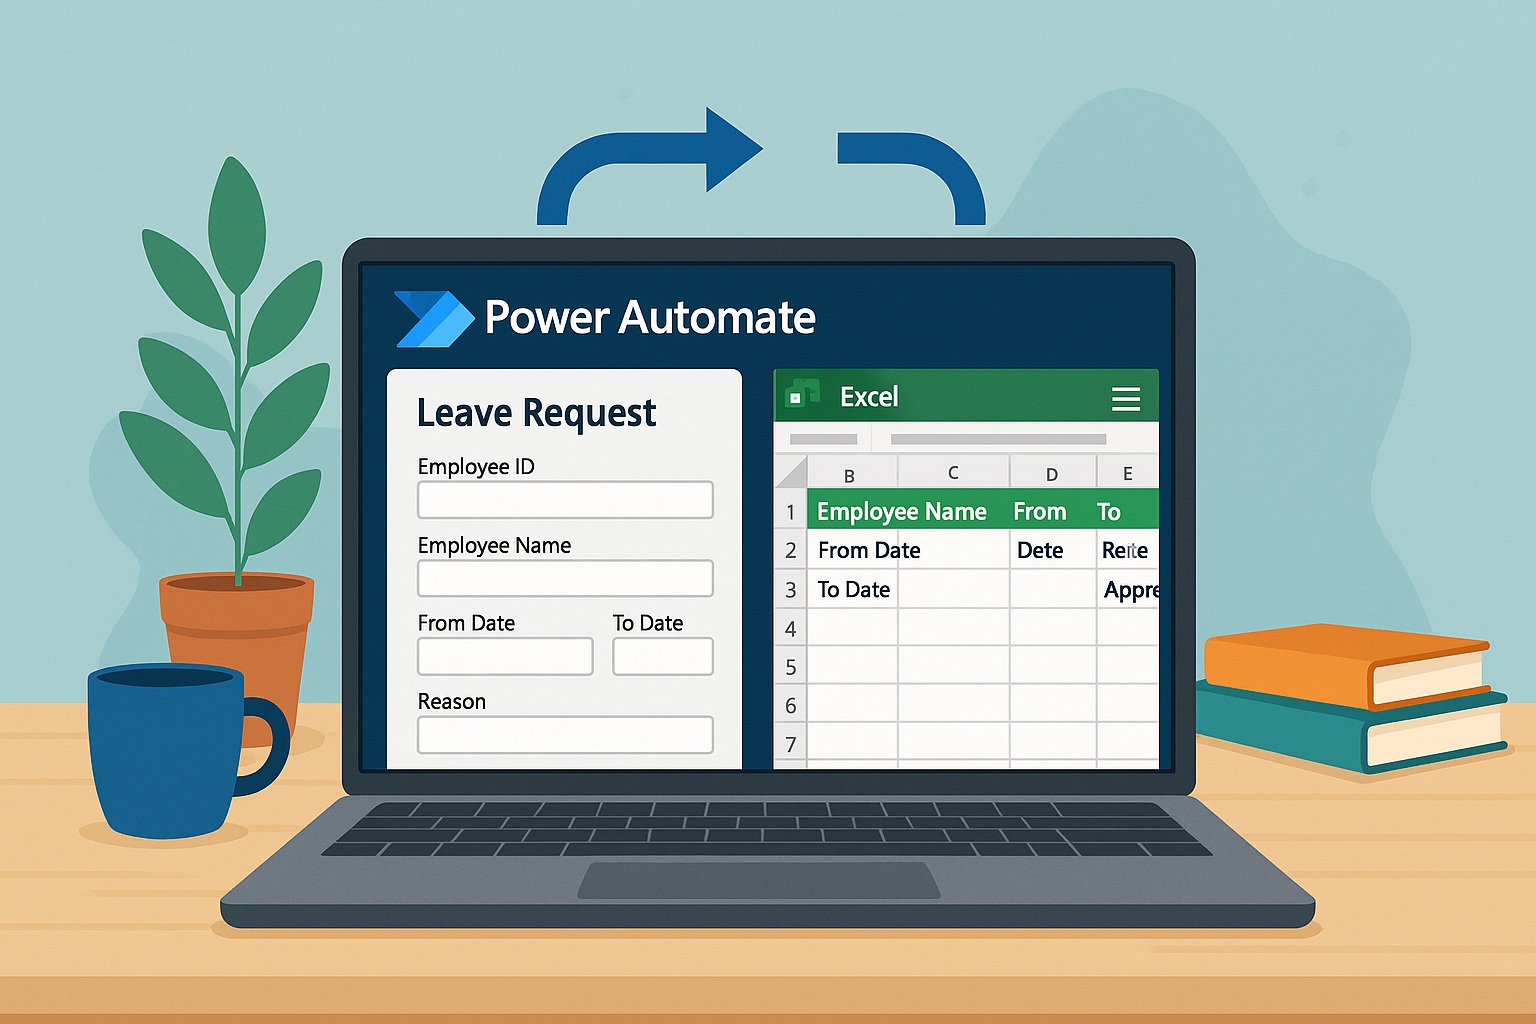
That’s where automation comes in. With Microsoft Forms, Excel Online, and Power Automate, you can create a leave approval system that updates itself. Employees submit a request, managers approve or reject it with a single click, and Excel automatically reflects the latest status. No more manual edits, no confusion — just a smooth process that keeps everyone on the same page.
What you’ll build
With this process, you’re going to design a complete leave approval system that works quietly in the background. Every request submitted through Microsoft Forms will automatically appear in an Excel Online table. From there, Power Automate will send an approval card to a manager, update the Leave Status to either Approved or Rejected, and instantly notify the requester by email. Imagine the convenience of having a single sheet where statuses update by themselves without any manual effort — wouldn’t that save your team countless follow-ups?
Who this is for
This solution is designed for anyone who wants an easy and reliable way to handle leave requests without relying on complicated software. HR teams and small businesses can use it to streamline approvals without hiring a developer. Project leads will find it helpful for managing team availability at a glance. And if you prefer Excel Online as your system of record, this setup lets you keep everything in one familiar place while making the workflow smarter.
What you need
To get started, you’ll only need the tools already included with most Microsoft 365 subscriptions. You’ll use Microsoft Forms to collect requests, Excel Online to store and track them, OneDrive or SharePoint to host the file, and Power Automate to connect everything together. Make sure your Excel file has a properly formatted table, and create a simple Form that matches your chosen columns. That’s it — no coding skills or third-party apps required.
How it works at a glance
Here’s how the process flows in real life: a team member submits their leave details using the Form. Power Automate then writes those details into Excel, marking the request as Hold until it’s reviewed. At the same time, the manager gets an approval card asking them to approve or reject. Once the decision is made, the flow updates the same Excel row with the new status and emails the employee with the result.
Picture this: an employee requests three days off. The system records the entry as “Hold,” sends the approval card to the manager, and, as soon as the manager clicks “Approve,” the Excel sheet updates automatically while the requester receives a confirmation in their inbox. No chasing, no confusion — just a clean, automated workflow.
Suggested Excel setup
Prepare a table with columns such as:
- Employee ID
- Employee Name
- From Date
- To Date
- Reason
- Email
- Leave Status
Tip: Use Employee ID as a unique key. This allows Power Automate to update the correct row later.
End-to-End Steps with Screenshot Markers
This is where the real build begins. Follow the steps carefully and add your screenshots at the marked points. By the end, you’ll have a fully working automated leave approval system.
Step 1: Prepare Excel and Forms
Before building the automation, you need the two basic pieces where data will live and flow from: Excel to store the requests and Forms to collect them.
- Excel Online
- Open Excel Online in OneDrive or SharePoint.
- Create a new workbook.
- Select your data range and convert it into a Table (Insert → Table).
- Name the table (e.g., LeaveRequests).
- Save the file in OneDrive or SharePoint.
- Open Excel Online in OneDrive or SharePoint.

- Microsoft Forms
- Open Microsoft Forms and create a new Form titled “Leave Request.”
- Add fields like: Employee ID, Employee Name, From Date, To Date, Reason, and Email.
- These fields should match your Excel columns so Power Automate can map them later.
- Open Microsoft Forms and create a new Form titled “Leave Request.”

Step 2: Start the Flow in Power Automate
Now that your data sources are ready, the next step is to connect them through Power Automate. This starts with creating the actual flow.
- Go to Power Automate.
- Select Create → Automated cloud flow.
- Give it a name like “Leave Request Approval Flow.”
- Choose the option: “When a new response is submitted”

- Pick your Leave Request Form from the dropdown.
Step 3: Capture Form Response
Once the flow is triggered, you need to pull in the actual answers submitted through the Form. This step ensures Power Automate knows exactly which request it is working with.
- Add a new step, and select the “Get response details” option.

- Select the same Form you used in Step 2.
- For Response Id, select Response Id from Dynamic content.
Step 4: Add the Request to Excel
At this point, you have the data from the Form. The next step is storing it in your Excel table so it becomes part of your leave tracker.
- Add a step: Add a row into a table..
- Select the following:
- Location: OneDrive or SharePoint.
- Document Library: Select the correct library (often “Documents”).
- File: Browse and pick your Excel file.
- Table: Choose the table you created (LeaveRequests).
- Location: OneDrive or SharePoint.

- Map each Form field to the correct Excel column using Dynamic content.
- For Leave Status, type in Hold.
Step 5: Create the Approval Step
Now that the request is logged, it’s time to ask the manager to approve or reject it. Power Automate makes this easy by sending an approval card.
- Add a new step: Start and wait for an approval.
- Configure it as follows:
- Approval type: Approve/Reject – First to respond.
- Title: Something like “Leave Request from [Employee Name].”
- Assigned to: The approver’s email address.
- Details: Insert request details using Dynamic content (dates, reason, etc.).
- Item link: Use Response ID to link the request.
- Approval type: Approve/Reject – First to respond.

Step 6: Add a Condition for the Manager’s Decision
After sending the approval, you need to tell the flow what to do with the manager’s response. This condition will split the path between Approved and Rejected.
- Add a Condition action after the approval.
- In the left box, select Outcome (from the approval step).
- In the condition, choose equals and type Approve.

Step 7: Update Excel and Notify the Employee
Once the manager makes a choice, the flow should update Excel and send an email to the employee. These two actions make the whole process feel seamless.
Action A: Update the row in Excel
- Add action: Update a row.
- Fill in:
- Location, Document Library, File, Table: same as earlier.
- Key Column: Employee ID.
- Key Value: Employee ID from the Form response.
- Leave Status: map the Outcome from the approval (Approve or Reject).
- Location, Document Library, File, Table: same as earlier.

Action B: Send an Email to the Employee
- Add action: Send an email (V2) (Outlook).
- For To: use the requester’s Email field from the Form.
- For Subject: “Your Leave Request Has Been [Outcome].”
- For Body: Include details such as dates and status.

Step 8: Save and Test the Flow
With all the logic in place, it’s time to test. Running a test ensures every part works exactly as expected.
- Click Save at the top.
- Run a Test by submitting the Form yourself.
- Check Excel — a row should appear with status “Hold.”
- Approve or reject the approval card.
- Return to Excel — the status should update automatically.
- Finally, check the requester’s inbox for the confirmation email.
Test the Flow
Now that your flow is complete, it’s time to put it to the test. Testing will confirm that all steps — from form submission to approval and notifications — work together without errors.
Step 1: Submit the Form
Fill out the Microsoft Form just like an employee would. Enter details such as Employee ID, name, dates, reason, and email address, then hit Submit.

Step 2: Excel Auto-Updates
As soon as the form is submitted, Power Automate runs in the background. Within seconds, a new row is added to your Excel table with all the details you entered. The Leave Status column will automatically display Hold to show that the request is waiting for approval. At the same time, an email notification is sent to the approver.

Step 3: Approver Responds
When the approver receives the request, they can review the details and respond directly. The response can be given through the email approval card, the Power Automate web portal, or even the mobile app.

Step 4: Leave Status Updates Automatically
As soon as the approver clicks Approve or Reject, the flow updates the same Excel row. The Leave Status column changes instantly to reflect the decision. This ensures the spreadsheet always shows the latest information without manual edits.

Step 5: Email Sent to Submitter
Finally, the employee who submitted the form receives an email confirming the decision. The message includes their leave details and the final status, so they don’t need to check the Excel file manually.

Practical tips and simple fixes
If your table doesn’t appear, confirm the range is formatted as a proper Table. If the file can’t be selected, double-check that you chose the correct OneDrive or SharePoint location. If a row doesn’t update, make sure your Employee ID is unique and mapped correctly. And if you need more than one approver, switch the approval type to “Everyone must approve.”
Variations to explore
Once the basic system is in place, you can extend it. For example, you could write requests into a SharePoint list instead of Excel for more control, send Teams notifications to managers, or build a Power BI dashboard connected to the Excel table to see leave trends at a glance.
FAQs
Q: Can employees upload supporting documents like medical notes?
Yes. Add a file upload field to the Form, and links will appear in Excel.
Q: What happens if the approver is unavailable?
You can assign approvals to a group mailbox or add backup approvers.
Q: Can I add conditions for departments?
Absolutely. Add a Department column and use Conditions or Switches in Power Automate to route requests.
![]()