
When you’re working with growing amounts of data, speed and clarity become essential. Whether you’re tracking user activity, monitoring systems, or analyzing logs, you need a tool that can handle it all—fast.
That’s where Azure Data Explorer comes in. It’s built to manage large datasets and give you quick answers with minimal setup. In this guide, I’ll walk you through how to get started using the Azure Portal. No experience required—just follow the steps, and you’ll have a working setup in no time.
What Is Azure Data Explorer?
Azure Data Explorer (ADX) is a cloud-based tool that helps you explore large data sets quickly. It’s great for checking logs, tracking user activity, or analyzing data from devices in real time. It’s fast, reliable, and easy to start with.
If you’re not familiar with it yet, I’ve already shared a guide covering the Azure Data Explorer basics in simple terms. That’s a good place to start if you want to understand what ADX does before setting it up.
How to Set Up Azure Data Explorer on Azure Portal
Setting up Azure Data Explorer might seem complex at first, but it’s actually very beginner-friendly. Just follow these simple steps and you’ll be ready to explore your own data in minutes.
Step 1 – Sign In to the Azure Portal
To get started, go to portal.azure.com. You’ll need a Microsoft account and an active Azure subscription.
Once you’re logged in, you’ll land on the Azure dashboard. From here, you’ll create everything you need for your Azure Data Explorer setup.
Step 2 – Create a Resource Group
A resource group is like a folder where all your Azure items are stored together.
Here’s how to create one:
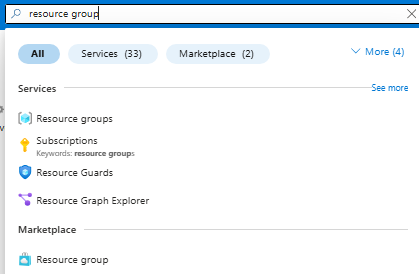
- In the search bar, type Resource Groups and click the result.
- Click Create.

- Choose your subscription.
- Enter a name (for example: ADX-umesh-pandit).
- Pick a region near you.
- Click Review + Create, then Create.

This step helps you stay organized and makes it easier to delete everything later if needed.
Step 3 – Create an Azure Data Explorer Cluster
Now that you have a resource group, you can create your cluster.
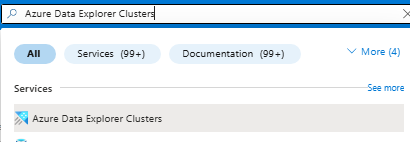
- In the top search bar, type Azure Data Explorer Clusters.
- Click Create.
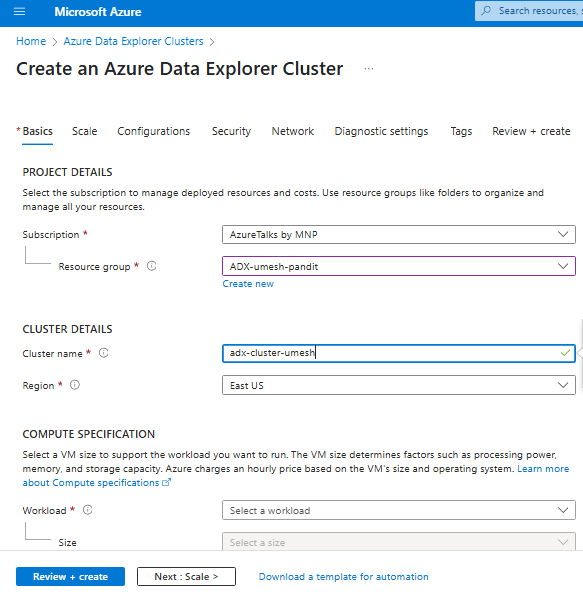
- Choose your subscription and select the resource group you just made.
- Give your cluster a name (like adx-cluster-umesh).
- Select your region (same as your resource group).
- For pricing, choose Dev/Test to keep it low-cost for learning.
- Click Review + Create, then Create.
This may take a few minutes. Once done, your cluster is ready to go.
Step 4 – Create a Database Inside the Cluster
When the cluster is ready, it’s time to add a database.
- Go to your new cluster.
- Under the Overview tab, click Create Database.

- Enter a name (e.g., DemoDB).
- You can leave the default retention and cache settings.
- Click Create.
Your database is now live inside the cluster.
Step 5 – Define a Table
Now we’ll create a table where your data will go.
- Open your database in the portal.
- Click on Query at the top.

Paste this code to create a basic table:
.create table DemoTable (UserId:string, Country:string, SignupDate:datetime)
- Click Run.
This creates a table with three columns: user ID, country, and signup date. You can change these based on your own data later.
Step 6 – Ingest Sample Data
Now you’ll upload a file to test your setup.
- From your database view, click Ingest → Add Data.
- Choose Upload File, then select a CSV file from your computer.
- Select the table you created earlier (DemoTable).
- The system will detect your column mapping. Confirm the settings.
- Click Ingest.
It will show you the status once the data is uploaded. That’s it—your data is now in Azure Data Explorer!
Final Thoughts
Once you’ve completed your setup, take a few extra steps to stay organized. Delete any test clusters or unused data to avoid unnecessary charges. It’s also a good idea to practice with the query tool so you can get more comfortable with KQL. Save your work often and keep your databases and tables named clearly—it’ll make future projects easier to manage. The more you explore, the more confident you’ll become using Azure Data Explorer in real scenarios.