How to Create an Azure AI Search Service in the Portal
Azure AI Search (previously called Azure Cognitive Search) is a cloud-based solution that allows businesses and developers to build powerful search experiences for their data. It can index documents, images, or structured information and then deliver accurate search results when users make queries.
This service is valuable because it reduces the time needed to find information, improves productivity, and enables intelligent features like semantic ranking and natural language queries. Organizations use it for product catalogs, document repositories, and customer support systems.
At a high level, Azure AI Search works in two steps:
- Indexing: The system collects and organizes your content, preparing it for search.
- Searching: When users type a query, the service finds the most relevant results and returns them instantly.
Now, let us look at the exact steps to create an Azure AI Search service using the Azure Portal.
Step 1: Prepare Before You Start
Before creating the service, decide on three important details:
- Name: Unique, 2–60 characters, lowercase letters, numbers, or dashes. No consecutive or edge dashes. Example endpoint: https://azuretalks.search.azure.cn.
- Region: Pick a supported region. Some features are available only in specific regions.
- Tier: Choose Free, Basic, Standard, or Storage-Optimized. This decides the features, billing, and capacity. Once created, the tier cannot be downgraded.
Step 2: Subscribe to Azure
An Azure subscription is required. You can use a free subscription or a paid one. The free tier supports a single service per subscription and is best for testing.
Note that Azure may remove inactive free services.
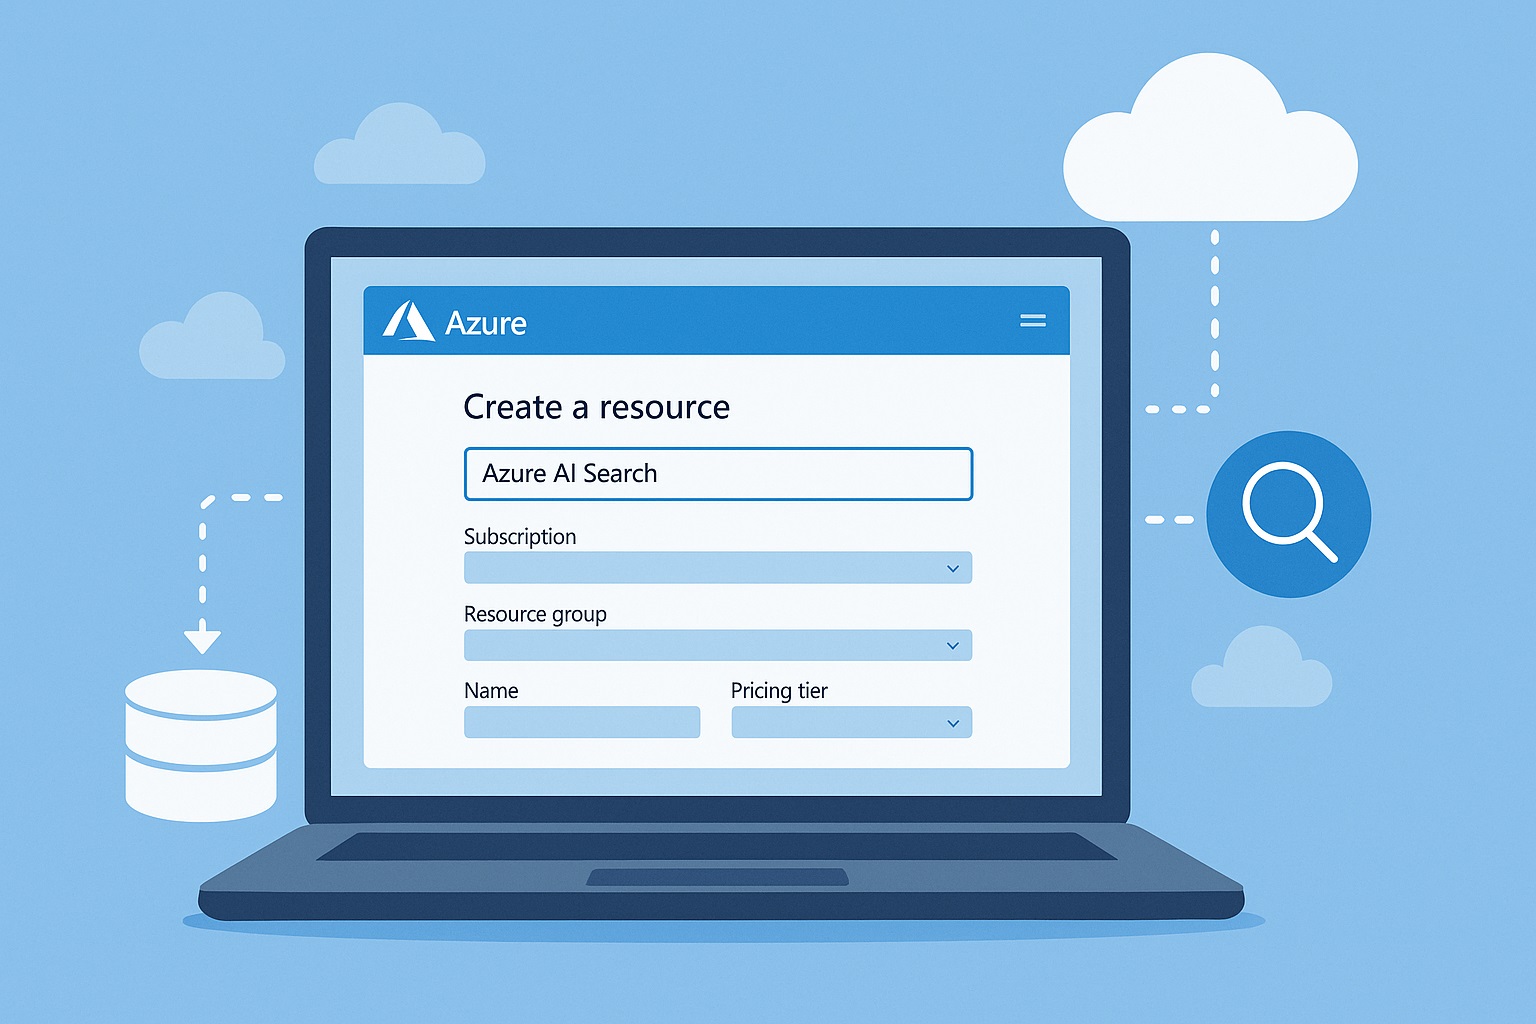
Step 3: Find the Azure AI Search Offering
- Sign in to the Azure Portal.
- Select Create a resource from the dashboard.

- In the search box, type Azure AI Search and click on it.

Step 4: Choose a Subscription
Pick the subscription you want to use.
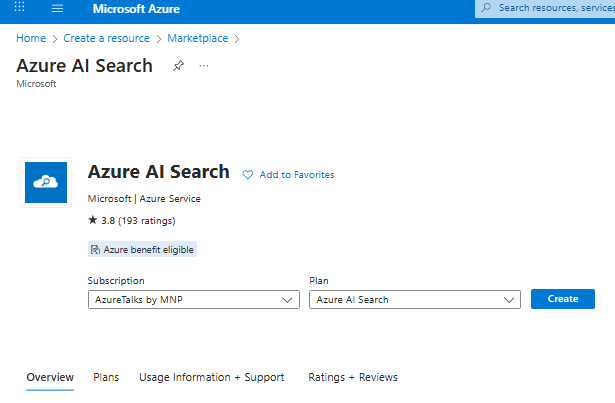
Ensure it matches the one where related resources (like managed identities or Key Vault) will also be created.
Step 5: Set a Resource Group
Choose an existing resource group or create a new one. This helps organize and track resources together.

Step 6: Name Your Service
Enter a unique name that follows the rules described earlier. The name becomes part of your service’s endpoint.
Step 7: Choose a Region
Select a region where your service will run. Some regions may not appear if demand is high. Make sure the region supports the features you need.
Step 8: Scaling Configuration
Since I am using the free pricing tier, I am unable to add scaling capabilities or create replicas. See the screenshot below:
Step 9: Choose Tags
Tag names are not needed for this exercise. However, in a real production environment, adding them is recommended as a best practice.
Step 10: Create the Service
Review the details and click Create. Deployment usually takes a few minutes. Once completed, you will receive a notification.

Step 11: Configure Authentication (Optional)
By default, authentication uses access keys. For better security, you can enable role-based access control (RBAC).
- Go to your search service.
- Open Settings → Keys.
- Use both keys and roles temporarily, then switch fully to roles once assignments are done.

Authentication keys screen.
Step 12: Scale the Service (Billable Tiers Only)
If you need more capacity, you can scale your service.
- Replicas improve performance by handling more search requests.
- Partitions allow you to store more data.
Important notes:
- Free tier does not support scaling.
- For reliability, use at least 2 replicas for read-only SLA and 3 replicas for read/write SLA.
- Scaling increases costs, so plan with the pricing calculator.
Quick Summary
| Step | Action | Details | |
| 1 | Prepare details | Name, region, and tier | |
| 2 | Subscribe | Free or paid Azure subscription | |
| 3 | Locate service | Use portal to create new resource | |
| 4 | Choose subscription | Select the correct subscription | |
| 5 | Resource group | Organize related services | |
| 6 | Name service | Follow naming rules | |
| 7 | Select region | Ensure feature availability | |
| 8 | Pick tier | Free, Basic, Standard, Storage-Optimized | |
| 9 | Create service | Deploy and confirm | |
| 10 | Authentication | Configure RBAC if needed | |
| 11 | Scaling | Add replicas and partitions |
Conclusion
Azure AI Search is a reliable way to deliver intelligent search experiences across different types of content. You have now learned what it is, why it is useful, and how it works. By following the step-by-step guide in the Azure Portal, you can create a service, set up security, and scale it according to your needs. Once the service is ready, the next stage is to create indexes, connect your data sources, and start building applications that use AI-powered search.