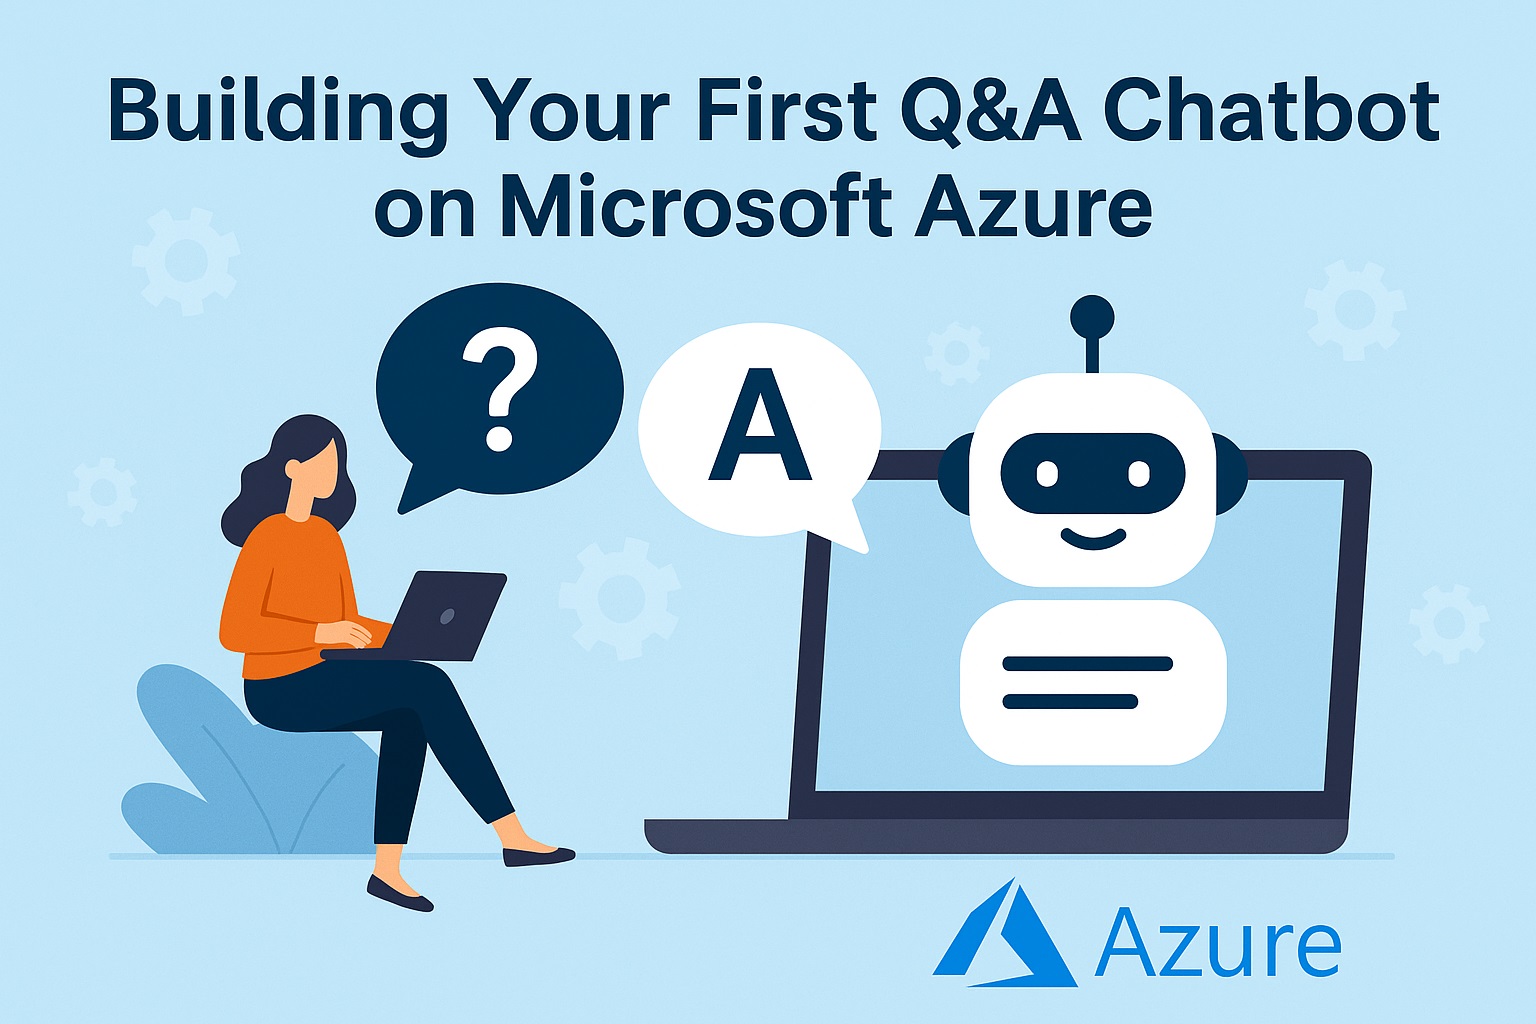
Building Your First Q&A Chatbot on Microsoft Azure: A Beginner’s Guide
Chatbots are no longer just fancy add-ons for websites—they have become practical tools for handling customer questions, streamlining support, and making information more accessible. At first, the idea of building a chatbot on Azure might sound complicated, but with the right steps, it’s actually straightforward. Microsoft provides beginner-friendly tools like Language Studio and Bot Service that guide you through the process without requiring advanced coding skills.
In this guide, I’ll walk you step by step through creating a Q&A chatbot in Azure. I’ll explain the basics, outline the resources you need, and then take you through each stage of building and testing your bot. By following along, you’ll finish with a working chatbot that can answer real questions from your own data sources.
What Is a Chatbot in Microsoft Azure
A chatbot in Azure is an AI-powered digital assistant that can conduct conversations, answer questions, or perform tasks using natural language. Azure combines services like Cognitive Services and Azure Bot Service to enable chatbots that can:
- Understand user messages
- Respond using prepared or learned content
- Be deployed on web chat, social platforms, voice interfaces, etc.
Azure’s tools also include Q&A capabilities (Knowledge Bases), language understanding, and integration with resources like Custom Question Answering, all enabling the creation of bots tailored to specific needs.
Responsible Practices & Prerequisites
Before you jump into building, I want you to know: as creators, we need to think about ethics and security. Make sure your bot:
- Is transparent about what it can (and can’t) do
- Has a fallback to human support when needed
- Treats secrets, sensitive data, and user data securely
- Adheres to accessibility standards
Also, to build the Q&A bot you need:
- An Azure subscription
- A Language resource that supports Custom Question Answering
- Permissions to create resources in a resource group

Steps to Create a Q&A Chatbot Using Language Studio
Here are the exact steps you follow (matched to your screenshots):
- Visit the Azure Language Studio via the URL: https://language.cognitive.azure.com/ and sign in with your Azure subscription.

- After signing in, provide details such as your Azure Subscription, choose the Resource type, and enter the Language Resource name. You’ll then access the Language Studio linked to the resource you created.
- Either click Understand Questions and Conversational Language, or in the Create new section, select QnA.

- Click on Custom Question Answering.

- Once you’ve selected Custom Question Answering, click Create new Project.

- Choose the Language settings; select the language as required.

- Under Basic Information, enter the Project Name, add a description, and provide a Default Answer—this is what the bot will reply with if someone asks something outside your data.

- Click on Add Source.

- In the Add Source section, you can import data either via URLs or Files; for example, you might provide URLs as sources for your Q&A data. Then click Add all.

- After importing, go to the Edit Knowledge Base section; clicking on the URLs or files you provided will display how questions and answers are formed from your data.
- If you want to add an extra question-answer pair manually, click the + symbol, type in your question and the desired answer, then click Save.

- Click on Test to try out the data you provided.

- Ask a question: it should return an answer if it exists in your data; otherwise, it returns the default message you set.

- Now, to make your bot live, you deploy the knowledge base: click Deploy Knowledge Base.

- Once the knowledge base is ready, to test it via a bot, either use the SDK by getting the Prediction URL or click Create directly in Azure Portal.

- You will be redirected to the Azure Portal to provide deployment details: select the Azure Subscription, the Resource Group Name, and Location for that Resource Group.

- Provide a Bot Handle Name, choose the Pricing Tier (based on usage and requirements), and enter the Microsoft APP-ID. Click Next.

- In the Web App section, name the Bot, select a Language, and the Creation Type; then choose “Create new app service plan.”

- Now, provide the Language Resource Key (from the Language resource you created earlier in Language Studio).
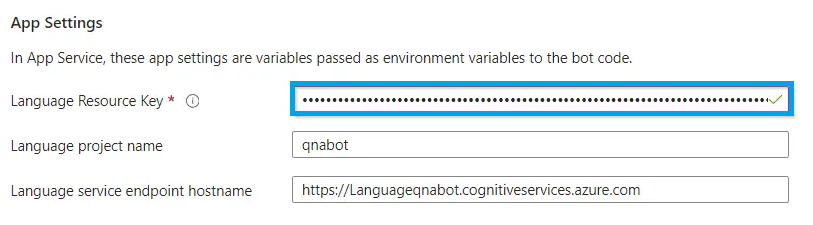
- Click Review + Create, then click Create. Deployment will take a few minutes.
- After it’s created, go to the Bot resource in Azure, and click Test in Web Chat.

- You can now ask it questions—if the question exists in your data, it returns the correct answer; if not, it gives the default message you configured.

Conclusion
If you follow these steps carefully, you’ll have a fully functional Q&A chatbot up and running on Microsoft Azure. I’ve kept this guide simple so beginners like me can learn and build at the same time. Once your first bot is ready, you can continue to improve it by adding more data, supporting multiple languages, or integrating it with apps and websites. For me, building a bot this way was both practical and exciting, and I’m confident it will feel the same for you.
![]()