
How to Automate VM Shutdown and Startup in Azure: A Step-by-Step Guide
When I first learned how much time and money could be saved by automating VM schedules, it completely changed how I managed cloud resources. Automating startup and shutdown doesn’t just keep costs predictable—it also frees you from repetitive tasks that can easily be forgotten. In this guide, I’ll walk you step by step through creating your own automation workflow in Azure using Logic Apps. You don’t need to be an expert in scripting or DevOps to get started.
What is Azure VM Automation?
Azure VM automation simply means using built-in tools to control when your virtual machines start and stop without manual work each day. By setting up a schedule, you ensure resources only run when they’re needed, which helps you stay within budget and avoid wasted spending.
Azure provides multiple ways to accomplish this, including Logic Apps, Automation Accounts, and Azure Functions. For most teams, Logic Apps are the easiest place to start because they offer a visual designer and don’t require coding experience.
If you’d like to explore why automating your VM schedules is so important, you can read this detailed overview before you begin.
Step 1 – Prepare Your Azure Environment
Before you build your workflow, it’s important to gather all the information and confirm you have the right resources ready. This preparation helps prevent issues later. Here’s exactly what you should do:
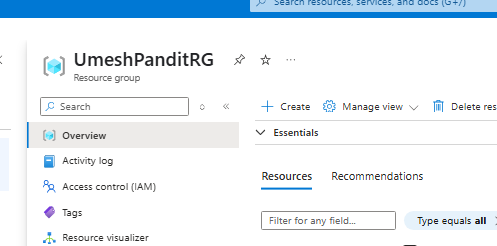
1) Create a Resource Group
- A resource group is a container that holds related Azure resources.
- To create one:
- Sign in to the Azure Portal.
- In the left navigation pane, select Resource groups.

- Click + Create.
- On the creation page:
- Subscription: Select your subscription.
- Resource Group Name: Enter a clear, descriptive name (e.g., vm-automation-group).
- Region: Choose the region closest to your virtual machine.
- Leave the rest of the settings as default.
- Click Review + Create, then Create.
- Your new resource group will be available to hold your Logic App and other related resources.
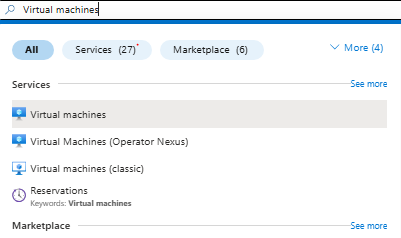
2) Create a Virtual Machine
- In the Azure Portal, search for Virtual machines.
Fill in the Basics
- Subscription: Select your subscription.
- Resource Group: Pick your existing group or create a new one.
- Virtual Machine Name: Enter a name (e.g., UmeshPanditVM).
- Region: Select your preferred Azure region.
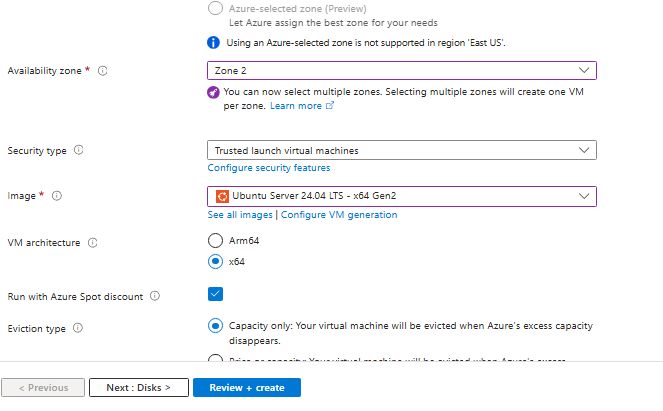
- Zone: Select zone 2.
- Image: Choose an OS (e.g., Ubuntu Server 24.04 LTS – x64 Gen2).
- Size: Click See all sizes to pick a VM size (e.g., B1s for testing).
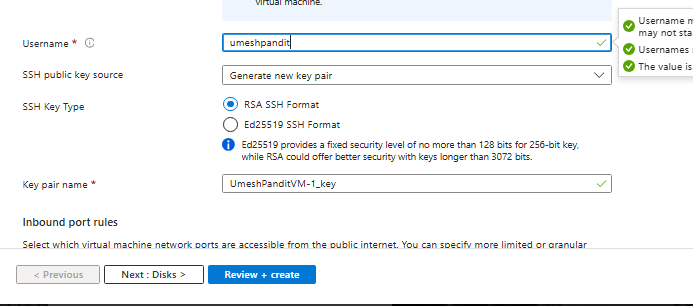
- Administrator Account:
- Username: Create a username.
- Password: Set a strong password or use an SSH key.
- Username: Create a username.
Leave Other Settings as Default
For a basic setup, you can leave Disks, Networking, Management, Advanced, and Tags as they are.
Review + Create
- Click Review + Create.
- Azure validates your configuration.
3) Decide on Your Schedule
- Before you start creating workflows, determine:
- What time each day do you want the VM to start?
- What time do you want it to stop?
- Make sure you know the time zone for your schedule.
Why this matters:
Preparing these details ensures you can set up your Logic App smoothly without missing critical information or needing to stop mid-process.
Step 2 – Create a Logic App
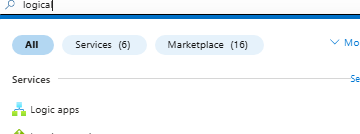
- Go to the main dashboard in the Azure Portal.
- In the left sidebar or the top search bar, type Logic Apps and select it.
- Click + Add.
- Fill in the required fields:
- Subscription: In Plan type, select “Consumption” (not “Standard”).
- Resource Group: Choose the resource group you just created.
- Logic App name: Use a clear name like vm-scheduler-start-stop.
- Region: Select the region closest to your VM.
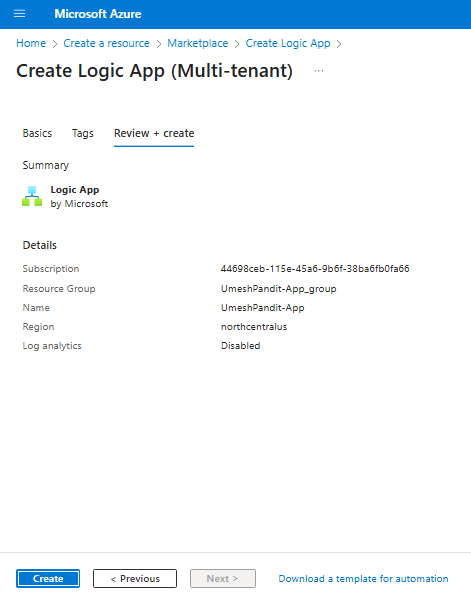
5. Click Review + create, then Create to deploy.

After deployment, your Logic App will be ready for configuration.
Step 3 – Add a Recurrence Trigger
The recurrence trigger determines when your workflow will run:
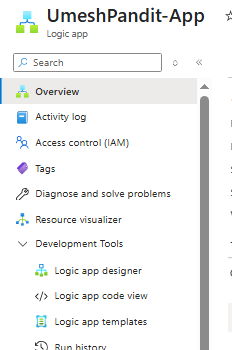
- Select the app. From the left side menu, select Development Tools.
- Select Logic App Designer.
- In the search bar, type Recurrence and choose it.
- Configure:
- Interval: e.g., 3.
- Frequency: Hour.
- Time zone: Choose your preferred time zone.
- Start time: Specify the start time for the schedule (e.g., 08:00 AM).
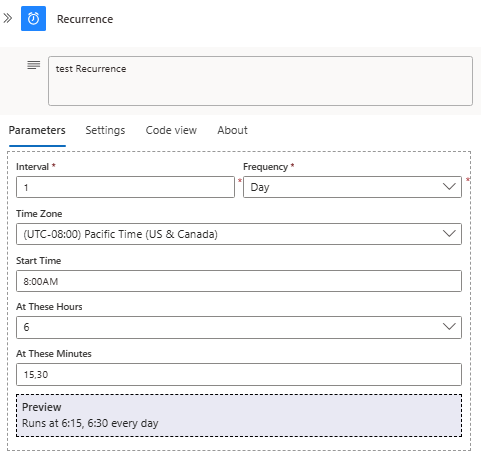
This trigger ensures the workflow will run every day at your selected time.
Step 4 – Add an Action to Start or Stop the VM
After the trigger, you’ll define what happens next:
Under the “Recurrence”
- Click + Add an action.
- Search for Virtual Machine.
- Choose:
- Stop Virtual Machine (V2) if you want to stop the VM.
- Start Virtual Machine (V2) if you want to start the VM.
If prompted, sign in to authorize the connection to your Azure account.
For example, we want to start the VM, so we selected “Start Virtual Machine.”

- In the action configuration:
- Subscription: Select the same subscription as your VM.
- Resource Group Name: Pick the group containing your VM.
- VM Name: Select the target VM from the dropdown.
Step 5 – Save and Test Your Workflow
- Click Save in the Logic App Designer.
- To test:
- Use the Run Trigger option to execute immediately.
- Check the Run History to confirm success.
- Verify the VM state in the Azure Portal.
Testing ensures your workflow is working correctly before relying on it.
Step 6 – Monitor and Maintain Your Automation
Once your automation is in place:
- Check the Run History regularly to confirm successful execution.
- Set up notifications for failures (e.g., email alerts).
- Adjust schedules as your business needs change.
This helps keep everything reliable and aligned with your workload patterns.
Conclusion
When I finished setting up my first Logic App to automate VM schedules, I immediately noticed the impact—no more worrying about shutting down resources manually, and a clear drop in monthly spending. Automating your VM startup and shutdown is one of the easiest ways to get more value out of Azure without a steep learning curve. If you’re ready to explore even more advanced scenarios, you can combine Logic Apps with alerts, monitoring, and other Azure services for a more complete solution.